Elemental Zip Pouch Tutorial
These Elemental Zip Pouches were born from a need for simple, multi-use bags that can be used to hold almost anything. I love to keep things organized and I am much more likely to keep everything tidy if I have a beautiful, handmade bag to store things in. These multi-pocket, multi-size pouches are perfect for tablets, makeup, notions, art supplies, or anything else your heart desires. As basic and useful as earth, wind, fire, and water, these pouches are named as much for their functionality as they are for their elemental pocket detail.

Note: All cuts are height x width. Available in two sizes: Large (Small).
MATERIALS
Main Fabric- 3/8 yd (1/4 yd)
Lining Fabric- 3/8 yd (1/4 yd)
Interfacing- 3/8 yd (1/4 yd) (I used Pellon Shape Flex-SF101)
Pocket Accent- 9 “ (6”) Fabric strip
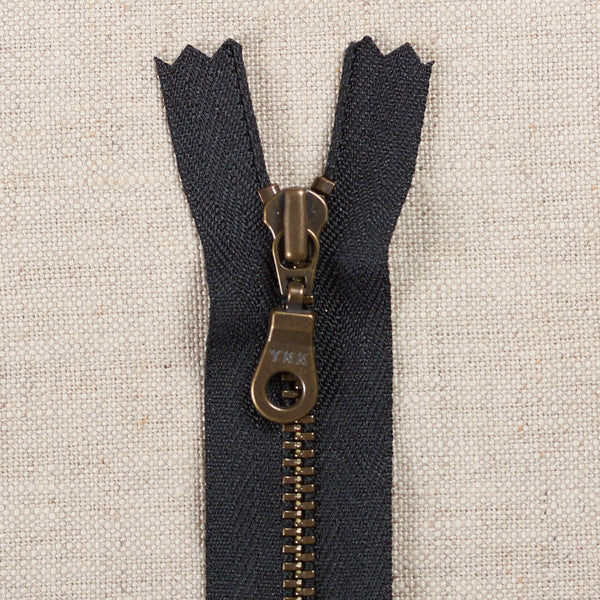
(2) Metal zippers 10” (6”)
Rotary Cutter
Cutting Mat
Quilting Ruler
Chalk Marker
Sewing Pins

CUTTING
For Large Size
Cut from Main Fabric:
Main Panel - (2) 10” x 13”
Triangle Pocket- (2) 6.5” x 8”
Main Zipper Tab- (2) 1.5” x 3”
Pocket Zipper Tab- (2) 1.5” x 3”
Cut from Accent:
Triangle Pocket Accent- (1) 8.5” x 8.5” square
Cut from Lining:
Main Panel Lining- (2) 10” x 13”
Pocket Lining- (1) 6.25” x 13”
Cut from Interfacing:
Main Panel- (2) 10” x 13”

For Small Size
Cut from Main Fabric:
Main Panel - (2) 7” x 9”
Triangle Pocket- (2) 4.5” x 6”
Main Zipper Tab- (2) 1.5” x 3”
Pocket Zipper Tab- (2) 1.5” x 2”
Cut from Contrast:
Triangle Pocket Accent- (1) 6” x 6” square
Cut from Lining:
Main Panel Lining- (2) 7” x 9”
Pocket Lining- (1) 4.25” x 9”
Cut from Interfacing:
Main Panel- (2) 7” x 9”

Note
Seam allowances are 1/2” unless otherwise stated. Fuse your interfacing to the wrong sides of your Main Panel pieces before you begin sewing.
Assemble the patchwork for your Triangle pocket-
Cut your 8.5” (5”) Accent square in half from one corner of your square to another using a rotary cutter and quilting ruler. You only need one half of the square so discard the second triangle or save for making another bag.

Next, you will cut your 6.5” x 8” (4.5” x 5.75”) Triangle Pocket pieces. With the two pieces stacked wrong sides together and directional prints facing towards the bottom of the mat, line up the corner of your rectangles with the corner of your cutting mat making sure it is square with both the left and bottom edges of your mat. You should see a 45-degree line running out of the corner of the mat. Line up your quilting ruler on this 45-degree line and cut.

You should now have two mirrored oblong pieces (like the ones shown below) in your main fabric and one contrasting triangle.

Mark the bottom two corners of your triangle piece 1/4” in from the bottom.
Take one of your mirrored oblong pieces (either one is fine) and line it up with your triangle. For this step, you will have right sides together and the shorter edge of your oblong piece will rest at the 1/4” mark you made on your triangle. At the bottom your oblong piece you should have a bit of excess triangle exposed while the top of the oblong will extend well beyond the top of the triangle.

Sew the first oblong piece and triangle together with a 1/4” seam. Press seam away from the triangle.
Line up the second oblong piece the same way you did the first and sew with a 1/4” seam. Trim the overhang from your original oblong piece. Press the second seam away from the triangle.
Trim your patchwork so it is squared up and measures out to 6.25” x 13” (4.25” x 9”).
Attach the Pocket Zipper Tabs-
Take one of your Pocket Zipper Tabs (1.5” x 3”) and fold one of the short edges under 1/4” with wrong sides together. Leave the second edge unfinished. Sew the newly pressed edge to one end of your zipper.

Repeat with second Pocket Zipper Tab and the other end of your zipper.
Trim the unfinished sides of the Pocket Zipper Tabs so they line up with the long edge of the zipper.
Assemble the Triangle Pocket-
With your completed patchwork Triangle Pocket face up Lay the Pocket Zipper face down, zipper pull on the left, centered on your fabric. Using a zipper foot, baste the zipper in place.
Lay your Pocket Lining piece right side facing up on your workspace. Line up your newly sewn Triangle Pocket and Pocket Zipper face down on your lining piece so they are right sides together. With a zipper foot sew all three pieces together.
Press fabric away from the zipper on both sides. Topstitch the pocket with Triangle patchwork facing up at 1/8” away from the zipper

Attach the Triangle Pocket to the Main Panel-
Take a sewing pin and mark the top of your fabric to avoid confusion.
Using your quilting ruler and a chalk marker, mark a line on your Main Panel piece 5.75” (3.5”) from the bottom of the fabric. With right sides together line up the unsewn side of the zipper on your Triangle Pocket with the line you made on your Main Panel. Using a zipper foot, sew the zipper in place. Your zipper tabs will hang beyond the Main Panel Piece. Trim off any excess so it lines up with the edge of your Main Panel.

Fold your Triangle Pocket down so the bottom of the pocket lines up with the bottom of your Main Panel piece. The zipper will not lay flat! It should be folded in half so that the zipper teeth face up toward the top of the bag. Baste the pocket to the main panel at 3/8”.


Attach the Main Zipper Tabs-
Take one Main Zipper Tab (1.5” x 3”) and fold it in half bringing the short 1.5” edges together with wrong sides together. Open up the folded tab and re-fold with the two 1.5” edges aligned on the center fold you just created. Fold the whole piece back along the original fold. Press.
Repeat the process for your second Main Zipper Tab
Trim your zipper tape so that only 3/4” remains beyond the edge of the teeth/stop. Repeat for both sides of the zipper.
Using one Main Zipper Tab, sandwich the short edge of your zipper between the folds of your freshly pressed Main Zipper Tab. Both sides of the zipper should be encased and the Main Zipper Tab should sit just outside the edge of your zipper teeth/stop. Topstitch in place at 1/8”. It may be helpful to use a zipper foot on this step as well.

Repeat with your second zipper tab and the other side of your zipper.
Assemble the Main Panel-
With your Main Panel + Triangle Pocket Piece face up Lay the Main Zipper face down, with the zipper pull on the same side as your pocket zipper, and centered on your fabric. Using a zipper foot, baste the zipper in place. (As in Step 3)
Lay your Main Panel Lining piece right side facing up on your workspace. Line up your newly sewn Main Panel + Main Zipper face down on your lining piece so they are right sides together. With a zipper foot sew all three pieces together.
Press fabric away from the zipper on both sides. Topstitch the pocket with Triangle patchwork facing up at 1/8” away from the zipper.
Repeat with the second side of your zipper and second Main Panel and Main Panel Lining Pieces.

Final Assembly-
Open your Main Zipper so that it is halfway open.
Pull your Main Panel pieces right sides together so they line up along their bottom edge. Pin in place
Pull your Main Panel Lining Pieces right sides together (to the other side) so they line up along the bottom edge. Pin in place.

Check your Main zipper. It should be folded in half so that the teeth are toward the bottom of the Main Panel pieces. Pin in place.
Sew all the way around your Main Panel and Main Panel Lining leaving a 3” opening at the bottom of your Main Panel Lining for turning.
Trim the corners of your bag, pull it right side out and press.
Using a blind stitch, sew the 3” hole at the bottom of your lining closed. Push the lining inside the bag. Press.
Congratulations you just finished your Elemental Zip Pouch!


Leave a comment