Hi Ellie and Mac Friends!
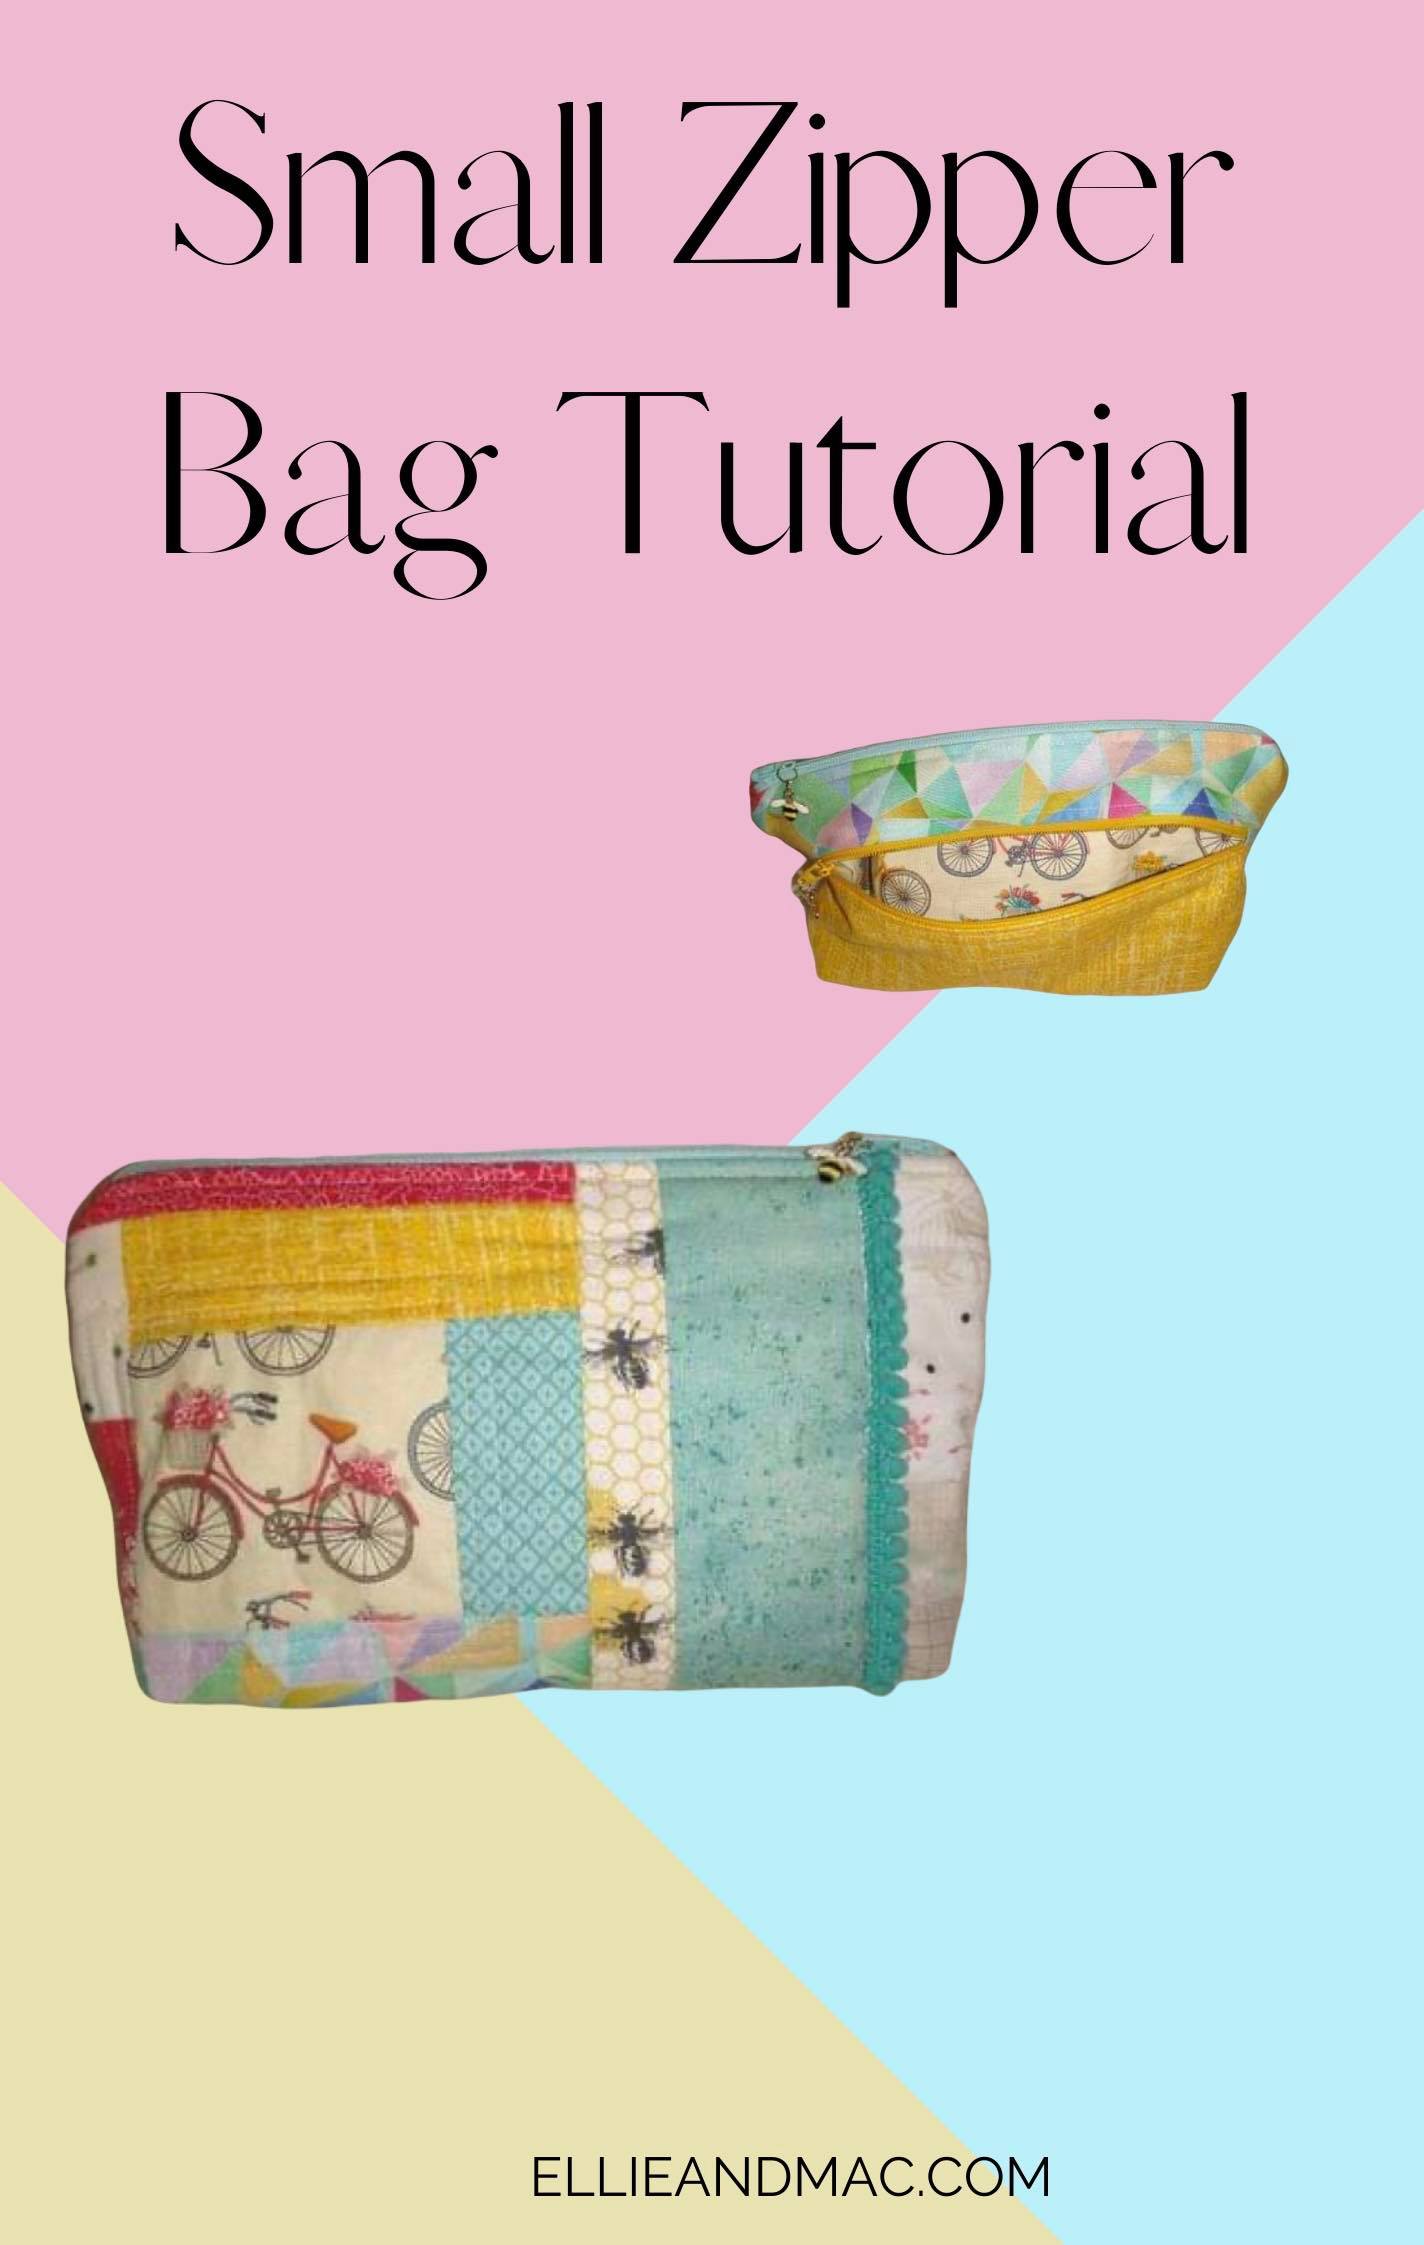
I am Sequoia from SequoiaLynn Sews and I am back with another guest blog here at EAM. This time I wanted to share a quick gift idea with you. I absolutely love making small gifts for friends and I am always on the lookout for fun inspiration. Today I will share one of my most frequently made gifts. Small zipper bags are so useful. I don't know a single person who doesn't use them for something. You could fill them with pencils, make up, snacks or your kiddo's favorite toys. Adding goodies inside make these gifts extra special. These bags are super quick to make and easy to customize for everyone on your gift list. I am going to give you a brief tutorial on how to make the basic bag. This is a great jumping off point for a new bag maker and will help you to learn the simple construction to improve your confidence. Once you have made one or two of these super simple bags, the sky will become your limit. You will be able to adjust the bag size, add decorative trims, colorblock your bags, or add additional pockets. So let's get started.
Supplies:
- 8.5 x 10 inch fabric - 2 each of the main and the lining fabric
- 2 x 4 inch fabric - 2 pieces for the zipper tabs
- 8 inch zipper
- Basic sewing supplies
- Optional : Iron on interfacing for lining fabric pieces
1. Cut all required fabrics and iron on the interfacing, if needed. I am using a canvas weight fabric for my bag so will not be using interfacing.
2. Iron memory creases in the zipper tab fabric. I just turned mine in about .25 inch on both short ends and then folded the tab in half and pressed again. This will make it easier to attach to the ends of the zipper. Repeat on the second tab.
3. Pin your zipper tabs on the ends of your zipper. You will need to unzip your zipper a little to sew the tab in place. I like to stitch the ends of the zipper tape together before trying to sew the tab on. This will help keep the tape ends close together when sewing your tabs in place. Trim the extra width from the sides so that your tab is as wide as your zipper.
4. Now that your zipper has tabs at each end, let's go ahead and begin assembling our bags. Stack your layers like this: Lining layer face up, zipper tape face up on the top of the lining, and finally main fabric face down on top of the stack. Use pins to pin things evenly in place across the shorter edge of the fabric rectangles. Sorry I missed this photo, but it is a little fabric zipper sandwich. :)
5. Use your zipper foot and stitch your zipper in place. If you aren't confident with zippers, use a basting stitch first. This will save you some time if you need to rip stitches and readjust. Once your zipper is basted in place and looking good, stitch with a normal straight stitch for security. Use your iron to press your main fabric away from your zipper and add some top stitching. Repeat steps 4 and 5 for the opposite side.
6. Unzip your zipper half way. This step is really important. If you forget, you will have a very difficult time turning your bag.
7. Open your fabric up and align both halves of your main fabrics right sides together. Add a few pins to keep things even. Do the same with your lining fabrics. Stitch with a straight stitch all the way around, except leave a 3 inch opening in your lining section. This is where we will turn the bag out so reinforce the edges with a few back stitches. You can clip the corners off to reduce bulk if needed.
8. Reach into the opening at the bottom of your lining and pull your main fabric through the opening. Push your bag lining into the main body of the bag. This will turn your bag right side out. Use a point turner to poke the corners out a bit to make them neater.
9. Last step! Use a needle and thread to ladder stitch that opening in your lining closed. Super quick and easy! Now you are all finished. Now fill your bag with treasures and share it with a friend.
So that is the basic bag assembly. Once you have learned the simple construction steps, you can make any type of zipper bag. Here is another bag I made with the same construction steps, but with more decorative details. If you would like to read more about this bag, you can see it on
my blog here. I look forward to seeing what you make and hope you have enjoyed this tutorial!
(Written by: Sequoia Bond)